
Today I have improved tooth on pictures which I took last week. I have done it in Photoshop. It is very easy to do. Below you see screenshots of process.
I opened one pic of my first model:
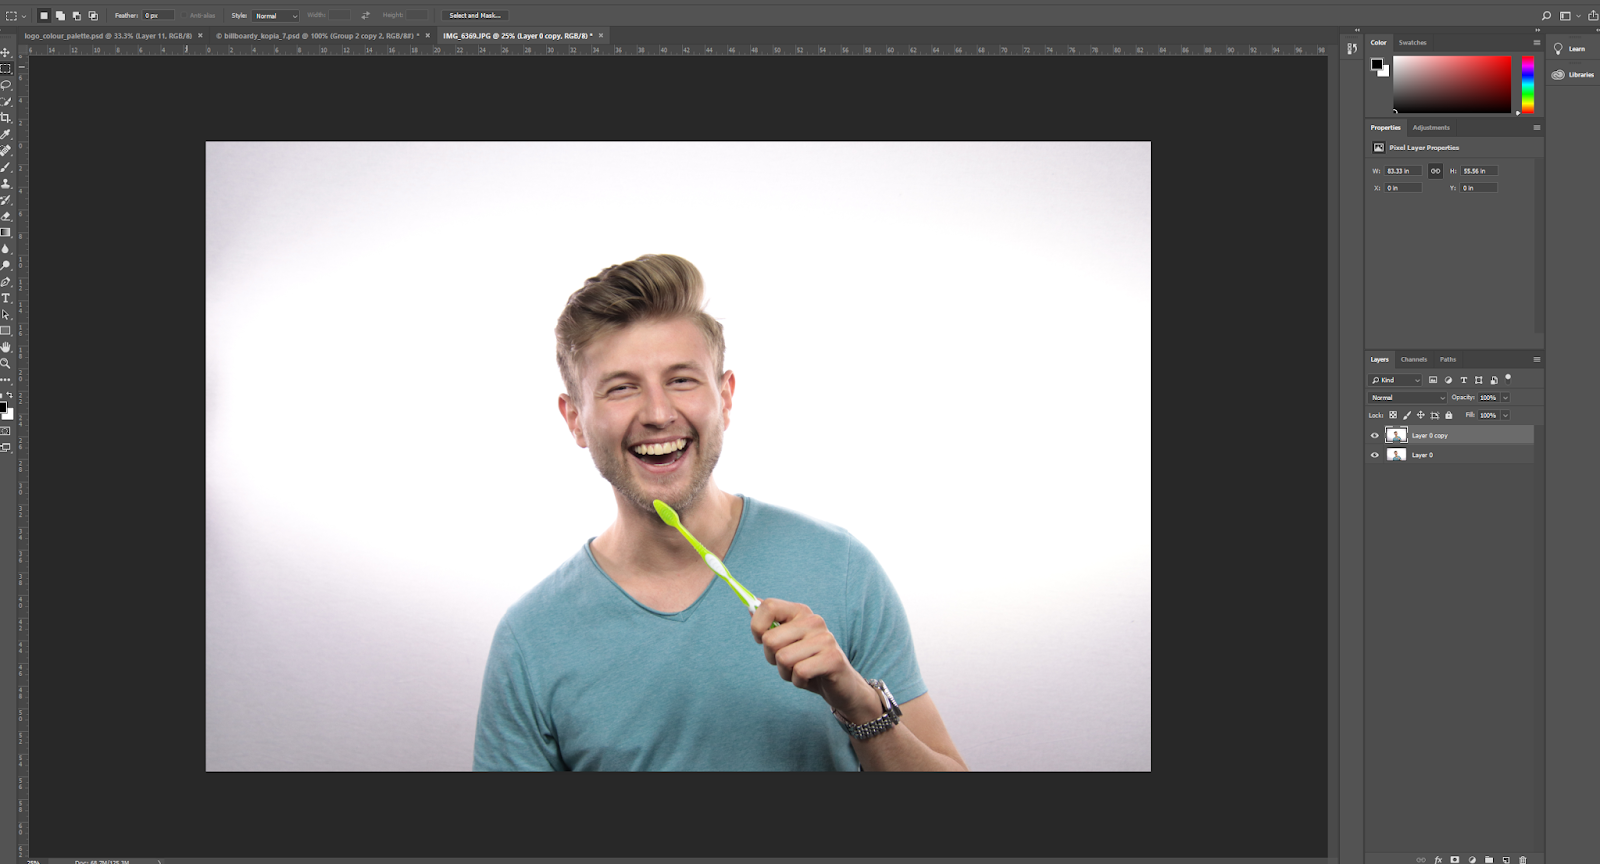
I duplicated a main pic using keypad swift+J - very quick method. Using lasso tool I marked area where are tooth as below:

In next step I went to Hue/Saturation settings.

In result I get new layer where I can eliminate yellow colour from before marked area.

Now I changed option for yellow :
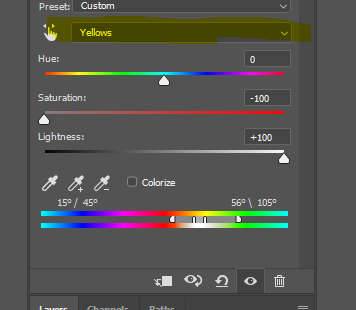
Using these pads I eliminated the yellow colour from tooth.

That's all, now I got prefect white tooth on pictures of my models. I did this again on rest of my model's pictures.
Again, I think you can run this over more than one post, perhaps a second demonstrating in more depth the process here. Also you could try a 'before' and 'after' series of shots with testimony from one of your 'patients' - how their teeth looked before visiting Zebra and how they looked after visiting Zebra. These posts are good, but think carefully about how much depth you are putting into this work and use the opportunity to demonstrate ALL of your journey - remember, think about describing your project to someone as if they know nothing about it.
ReplyDelete