
Using simple tools I created based of my lunch box. One of those tools is called 'deformer', with this tool you can make a lot of modifications that would take a lot of time in a traditional way. Of course, the effects can be obtained statically - simply as a normal render or animation.
I used modelling tools to create base of my lunchbox and simple shapes of scratching my box without any advanced formatting.

In next step I added a middle part of lunchbox, this is a place for food, new shape by adding a new model. You can add a lot of models into your project, it works very similar as layers in Photoshop

Now I have some simple shapes, I have to the right shape for my lunchbox is modelled, after a couple hrs that is a effect below.

The box still has no right shape which I designed before.
Using the tools presented below, I created the right shape. I also added colors and simple textures to be able to distinguish all items.
These are the tools for formatting models.
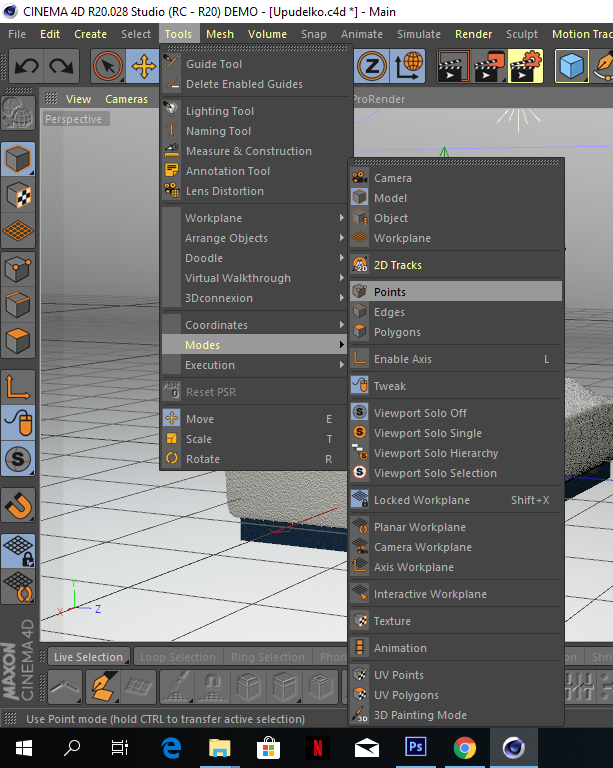
With this option, we can add various elements of our 3d graphics.

After a couple hours of my work with it, I added a power button, diodes and usb in/out. Also I have put color to separate base from middle part of lunchbox.

Below I present around 5 hrs of my work with Cinema 4D.

I am happy with a result, in next post I will add more elements to my project. At the moment this outcome is very poor, without any detailing and realistic textures.
As we discussed in the studio yesterday, adding reflection on the process itself would make this a stronger blog post. How did you find using the software throughout? Were there any issues that you had to overcome?
ReplyDeleteif you want to know more design for you product you can check here
ReplyDeleteperfect mockup